

Whether you’re bikepacking, on a long-distance cycling tour, or enjoying a weekend ride, staying hydrated is crucial. Cycling causes sweat and fluid loss, and dehydration can set in quickly, especially in hot weather or on challenging routes. The solution is simple: bring along a water bottle or hydration flask.
But then comes the key question: where to place it on your bike so that it’s easily accessible without interfering with your riding?
In this guide, we’ll explore the different options for mounting water bottles, their pros and cons, and practical tips to make hydration on the go safe and convenient.
At first glance, it might seem simple: just grab a bottle, pop it into a cage, and go. But in reality, mounting your water bottles on a bike requires some thought. Here’s why:
Thoughtful placement of your bottles is part of your bike’s overall ergonomics. Proper positioning ensures comfort, easy access to water while riding, and safety, especially on long-distance rides, bikepacking adventures, and cycling tours.
Choosing the right placement for your water bottles isn’t just about convenience—it enhances performance, prevents unnecessary stops, and keeps you hydrated when it matters most.
Pro tip: For a secure and ergonomic option, consider the Cluxx Ergo Water Bottle, perfect for city rides, gravel, or bikepacking adventures and its secure attachment with Cluxx Everide Bottle Cages.

Inside the Front Triangle of the Frame This is the most common location and is usually provided by the manufacturer with dedicated bottle cage mounts. This placement offers several advantages:
Note: If you’re using a large frame bag for bikepacking or cycling tours, access to the bottle may be limited. In that case, you may need to reposition the bottle or add a second bottle mount elsewhere on the bike.

The bottle cage is mounted on the outside of the down tube, near the bottom bracket. This location is often used as a second bottle mount on touring, gravel, or bikepacking bikes to carry extra water.
Advantages:
Disadvantages:
If your fork has additional mounting points, you can attach a bottle in a soft cage or hydration pouch. This setup is particularly popular for bikepacking and long-distance cycling trips, where every liter of water counts.
Advantages:
Things to note:
With some creativity, you can mount bottles in various spots on the bike to optimize accessibility and hydration on every ride.
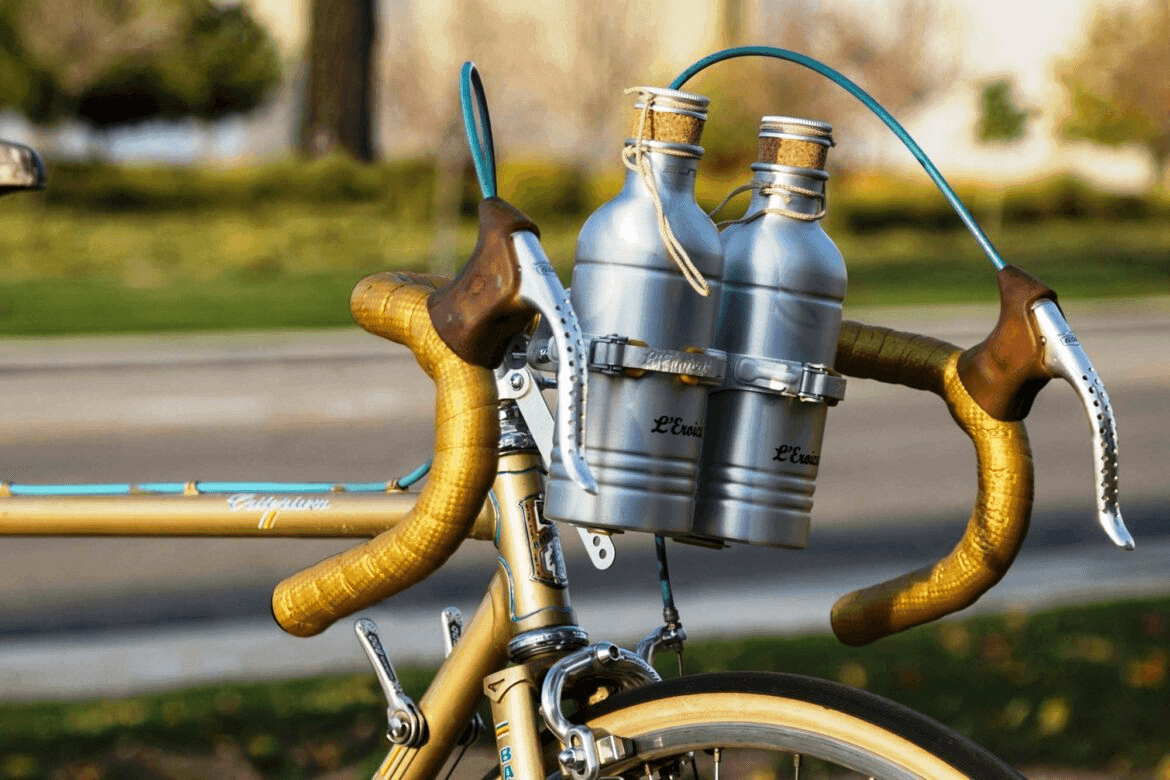
Some handlebar bags or specialized bottle mounts allow you to place bottles at the front, within easy reach while riding.
When it’s useful:
Disadvantages:
A less common but occasionally used solution, especially on road bikes and triathlon bikes, is to mount one or two bottles behind the saddle using specialized brackets.
Advantages:
Disadvantages:
When bike space is limited or all bottle cages are already in use, a backpack with a hydration bladder (hydrobag) is a practical solution, especially for long-distance rides or bikepacking adventures.
Advantages:
Disadvantages:

Choosing the right bottle and positioning it correctly on your bike is essential for comfort and safety during rides—whether you’re cycling in the city, bikepacking, touring, or hitting mountain bike trails. A well-placed bottle lets you stay hydrated without interfering with your pedaling or handling.
For Urban Rides and Short Trips A single bottle cage inside the front triangle is usually sufficient. This setup is perfect for city bikes or short rides where quick and easy access to water is key. Example: Cluxx Ergo 550 – an ergonomic bottle designed for easy access during urban rides.
For Long Rides and Bikepacking Add a bottle under the down tube or on the fork. This is especially useful if you’re not using a hydration backpack, allowing you to carry extra water without overloading the main triangle of the frame. Example: Cluxx Ergo 750 – ideal for long distances and bikepacking adventures.
For MTB and Trail Riding A hydration backpack (hydrator) frees your hands and ensures a steady water flow even on rough terrain. This setup keeps you focused on handling the bike while maintaining consistent hydration.
For Rides with a Frame Bag If your front triangle is partially occupied by a frame bag, consider placing a bottle on the fork, handlebars, or using a hydration backpack with a drinking tube. This ensures easy, convenient access to water without having to move your bags.
Key Takeaway Comfort and safety on your rides often depend on small details like bottle placement. A smart setup guarantees water access when you need it, without interfering with your movement. Choose the option that best suits your bike, type of ride, and cycling style - and let thirst never interrupt your bike adventure!


Ergo 550
Bottles
7.9€
Compact and lightweight, the Cluxx Ergo 550 offers an ideal 550 ml capacity, perfect for your rides, training sessions, and daily commutes. Its standard 74 mm size fits all classic bottle cages, ensuring an easy grip and smooth use on the go. Reusable, recyclable, and BPA-free, it is designed to support you every day.


Ergo 550 Fast flow
Bottles
10.9€
Compact and lightweight, the Cluxx Ergo 550 offers an ideal 550 ml capacity, perfect for your rides, training sessions, and daily commutes. Its standard 74 mm size fits all classic bottle cages, ensuring an easy grip and smooth use on the go. Reusable, recyclable, and BPA-free, it is designed to support you every day.


Ergo 750
Bottles
8.9€
Optimized for all your cycling adventures, this 750 ml bike bottle is perfect for rides, training, and bikepacking trips. Lightweight and standard-sized (74 mm diameter), it fits all classic bottle holders. Made from recyclable plastic, BPA-free, and reusable, it ensures practical hydration while being eco-friendly with every pedal stroke. Whether you’re riding MTB, gravel, or road, this bottle is your reliable hydration companion.